
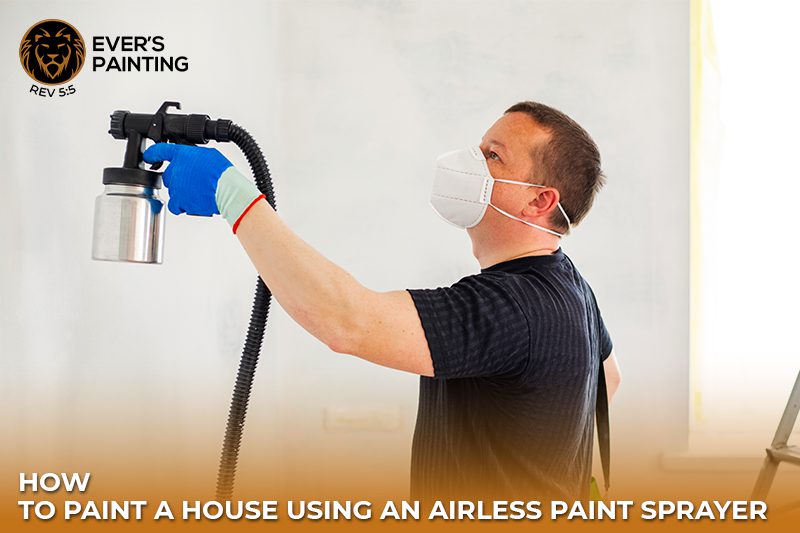
Want a pro-quality finish without hiring painters? A clean paint job can boost your home’s style and total value. Using an airless paint sprayer makes that task smooth, quick, and easy to learn fast. This guide explains how to paint a house with airless paint sprayer tools at home. You will explore prep steps, pro advice, and cleanup without confusion.
Why Use an Airless Paint Sprayer for House Painting?
Using an airless paint sprayer, house painting saves time and gives better control. You paint walls three times faster than a brush or roller could ever manage. The tool gives a soft, smooth coat on fences, siding, and outdoor trim. Less paint gets wasted, and your arms stay free from stress. This works on indoor and outdoor walls with ease.
An airless sprayer keeps paint flow strong with less effort on your part. The paint sticks better to rough siding, and the finish looks even every time. You get fewer roller lines or brush marks. Spraying is best for big homes where painting can take many hours with normal tools.
Preparation, Key to Perfect Results
Always follow the full house painting preparation steps before you begin. Wash every wall well with a strong spray of water and a clean solution. Scrape loose or cracked paint using a flat edge or scraper tool. Sand down rough patches or sharp edges left behind. Fill holes with compound and allow that to dry fully.
Mask doors and all glass with tape and plastic to guard from loose spray. Cover trees, driveways, decks, and wires with thick cloth or paper. Trim any hanging branches or wires close to your work zone. Prime exposed metal and bare wood before you use paint. Dry walls are key for a clean paint coat.
Setting Up Your Airless Paint Sprayer
Follow these smart tips for using an airless paint sprayer to set it up. Start by placing the sprayer unit on a flat spot near your house base. Attach the hose to the pump and sprayer handle securely. Fill the intake bucket with strained paint for smooth flow.
Prime the sprayer pump so paint flows through clean. Pick the right spray tip after checking your surface and the paint type. Lower pressure helps limit waste and control thick mess. Adjust spray strength until the shape forms clean lines across each test board surface. Always test on a spare board to ensure it is working well before use.
Best Technique for Painting with an Airless Sprayer
For the best airless paint sprayer techniques, keep the sprayer tip 12 inches from the walls. Move your arm in one even sweep without stopping or slowing too much. Overlap every pass by half for a thick, solid finish. Begin spraying at one edge and move in rows across the area.
Always spray siding before you move on to trim work and frames. Do not angle the tip up or down. Stay level with the wall if paint builds up, back off a few inches, and go again. These steps help while painting the house exterior with a sprayer. Keep it clean.
Safety Tips When Using an Airless Sprayer
These airless sprayer safety tips can save your body from harm and pain. Wear goggles, full boots, and a mask to shield your skin properly. Spray tips force paint at very high pressure, which can cut skin deeply. Never aim the tip at your hand or anyone else.
Cover all floors, plants, and other objects with cloth. Open every window and use fans if spraying indoors. Keep kids away from the zone. Unplug the unit if you stop for a long time. Security steps will keep your work smooth and easy.
Mistakes to Avoid
Learn from others and skip these mistakes with airless sprayers. The first error is not using tape or covers, which leads to sprayed glass and lights. Another is holding the sprayer too near, which makes thick spots and long drips. These can ruin walls and cost time to fix.
Failing to strain paint will cause a blocked sprayer and lost hours mid-job. Some users forget to check their spray tip or use the wrong size for their wall. A poor pattern means thin spots or lines across walls. Every time must test your setup before starting in any place.
Cleaning and Maintaining Your Airless Sprayer
End strong with airless sprayer cleaning and maintenance steps. It keeps your tool fresh. Turn off, start the unit, and unplug all power. Empty any extra paint from the sprayer and lines. Fill the bucket with clean water or the proper solvent.
Run that liquid through the sprayer until all paint clears from the lines. Remove and rinse every tip and hose with a strong stream. Wipe down the unit and store it in a cool space. Apply pump oil before long storage to stop rust and clog.
Before and After Paint Results
Painting a full house with an airless sprayer shows a major change in less time. Your faded walls turn bold with fresh colors, giving your home a new style. The work feels smooth and light when done right. Even large homes look brand new in just one or two days.
Good paint adds curb appeal and can raise home value by a wide amount. Neighbors will stop to ask what brand or painter you used. You did it yourself with clean work and smart steps. The pride that comes from this job is worth every single move made.
Painting with an Airless Sprayer Made Easy
Now you fully understand how to paint a house with an airless paint sprayer at home. The benefits are many: you save hours, money, and body strain. The sprayer gives sleek, pro-grade results that beat brush or roller use.
Even new users can learn fast when they test on waste wood first. Your first coat may take longer, but each one after will move quicker. With care and practice, your sprayer will become the best painting tool in your shed. Confidence builds with every house wall you finish strong. Many beginners now try DIY airless sprayer painting after a few practice sprays.
FAQs
Yes, just make sure to open windows and use fans to move air.
Most house paints work fine, but check the label sheet first.
Use a .015 to .019 tip for siding and a .013 for narrow trim.
Use tape, plastic sheets, and drop cloths to guard all zones from mist.