

Old kitchen cabinets often lose shine over time. Colors fade, and surfaces look worn. How custom cabinet painting is done helps explain a simple way to bring them back to life without full replacement. This makes kitchens feel fresh and more useful for daily cooking needs.
A proper cabinet painting process solves common issues like scratches and dull finishes. Wood cabinet preparation plays a key role in getting smooth results. Many homes choose this method to improve style without high cost. Now, let’s see how each step works so homeowners can understand what to expect before starting a kitchen update project.
Early Planning Phase For Kitchen Cabinet Refinishing
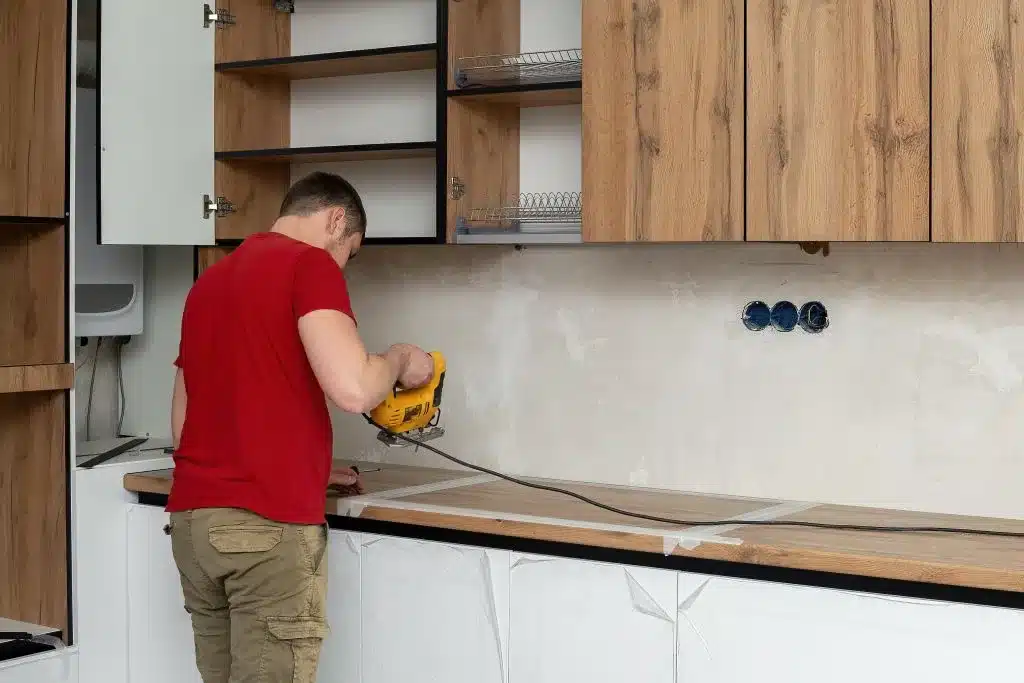
Good results start with clear planning before any work begins. Kitchen cabinet refinishing steps help guide what needs checking first. Now, let’s see how early decisions about condition and design can prevent mistakes and make the whole project smoother for daily home use. Many homeowners choose custom cabinet painting during this planning stage to refresh their kitchen without replacing cabinets.
Planning also includes checking the cabinet condition and kitchen layout before work starts. The cabinet painting process becomes easier when the color and cost are decided early. A real case is a homeowner who chose paint without checking the lighting and later had to adjust the shades. Wood cabinet preparation planning helped avoid delays and reduce extra work during the project.
Surface Preparation And Wood Treatment Essentials Guide
Clean surfaces are the first step for lasting cabinet work. Wood cabinet preparation starts with removing oil dust and old residue. Now let’s see how cabinet repair helps create a strong base for smooth paint results in daily kitchen use. These preparation steps support the long-term cabinet painting benefits homeowners expect from a quality project.
Cabinet repair includes fixing small dents, scratches, and worn edges before painting starts. The cabinet painting process depends on how well the surface is prepared. A real case is a homeowner who skipped deep cleaning and later saw peeling paint. Cabinet sanding and painting work best when the base is even and smooth and fully ready for strong paint bonding.
Stepwise Sanding And Priming Before Cabinet Painting
Cabinet sanding and painting start with careful sanding of each cabinet surface. Light sanding removes old shine while deeper sanding helps fix rough spots. Now let’s see how this step creates a smooth base for strong paint grip and better kitchen results in daily use. Professional interior painting services often follow the same process to achieve durable finishes.
Primer is added after sanding to help paint stick better. Kitchen cabinet refinishing steps include this stage to improve the finish strength and long life. A real case is a homeowner who skipped primer and saw uneven color later. Professional cabinet coating works best when sanding tools are used properly, and every surface is smooth before paint begins.
Color Selection Strategies For Modern Kitchen Styles
Color choice changes how a kitchen feels each day. The cabinet painting process often starts with picking shades that match the light and space. Simple color decisions can improve style and help cabinets look clean and modern for long-term home use. Similar color-planning techniques are also used in exterior painting services to enhance overall property appearance.
Match Color With Kitchen Theme
Choose colors that fit the full kitchen look. Kitchen cabinet refinishing steps suggest checking the walls, floor, and lights before the final choice. A real case is a homeowner who matched soft grey cabinets with warm walls and created a balanced space.
Trending Modern Cabinet Colors
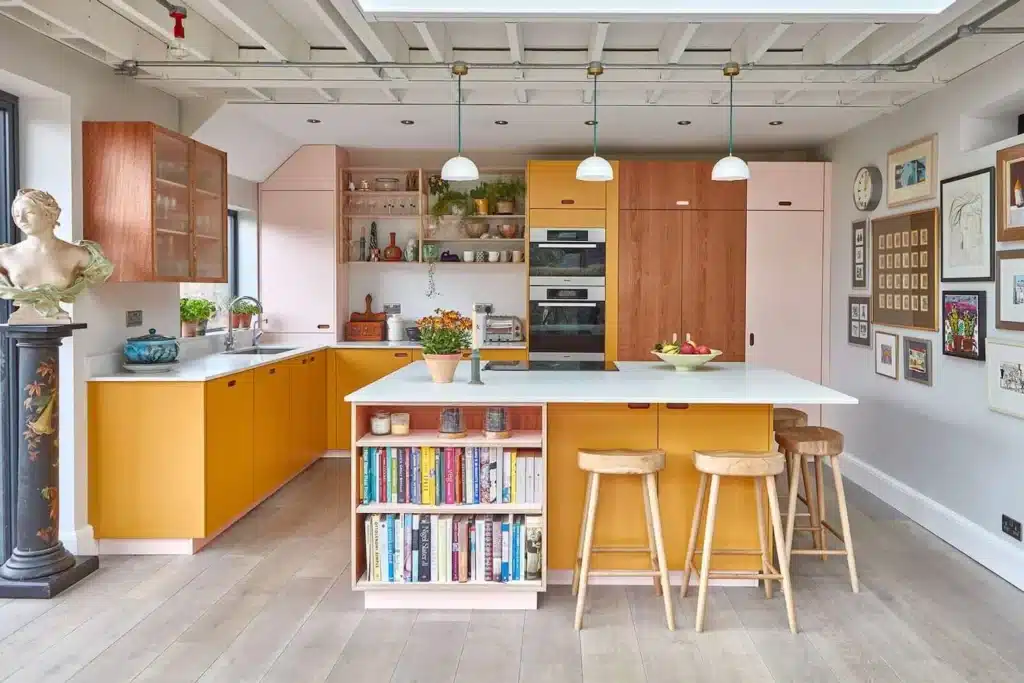
Soft white beige, and light wood tones are common today. These shades keep kitchens bright and simple. Many homes use them to create a calm and clean cooking space that feels open and fresh.
Finish Types And Surface Feel
Matte gloss and satin finishes give different looks. Professional cabinet coating helps control shine level and surface feel. Matte gives a soft look, while gloss adds shine, and satin stays balanced.
Choose Long-Lasting Color Styles
Pick colors that stay fresh over time. Neutral shades often last longer in design trends. A simple color choice helps cabinets stay modern without frequent repainting or redesign work.
Tools And Materials Used In Professional Cabinet Coating
Professional cabinet coating needs the right tools for a clean finish. Wood cabinet preparation also depends on using proper equipment before the paint starts. Now let’s see what tools and materials help create smooth and long-lasting cabinet results in real kitchen projects. Using quality coatings is just as important as selecting sun safe paint for outdoor surfaces exposed to sunlight.
Sprayers, Brushes, and Rollers
Sprayers give a smooth, even coat on large surfaces. Brushes help with edges and small corners. Cabinet sanding and painting often use rollers for flat panels. A real case is a painter who used a sprayer for doors and got a cleaner finish than manual brushing.
Paints, Primers, and Sealers
Good paint and primer improve strength and color life. Sealers protect the surface from moisture and wear. Professional cabinet coating works best when all layers are high-quality and matched for kitchen use.
Spray Method Vs. Manual Method
Spray painting gives faster and smoother coverage. Manual application takes more time but helps control detail work. Both methods are used based on cabinet design and surface needs.
Safety Gear And Protection Tools
Masks, gloves, and eye protection are important during painting. Cabinet sanding and painting create dust, so safety tools help protect health. A clean workspace also improves final finish quality.
Expert Workflow From Prep To Final Cabinet Finishing
A smooth result comes from a clear plan. The cabinet painting process follows a step-by-step method from start to end. Now let’s see how experts manage each stage to ensure clean work and long-lasting cabinet results in real home projects. Proper workflow planning helps maximize durability much like extending painted fence life through correct preparation and finishing methods.
Initial Consultation And Site Evaluation Process
The first step is checking the cabinet condition and kitchen layout. Kitchen cabinet refinishing steps begin here with simple inspection and planning. A real case is a homeowner who found hidden damage during this stage and fixed it before painting started. How custom cabinet painting is done always starts with careful review and clear planning for better results.
Final Finishing Inspection And Quality Approval Steps
After painting is complete, experts check every surface closely. They look for a smooth finish, even color, and strong coating. This step ensures no spots or errors are left behind. Final approval confirms that the cabinets are ready for daily use and long-term durability in the kitchen.
Durability Factors In Cabinet Paint And Seal Layers
A strong cabinet finish depends on each layer working together. Professional cabinet coating helps protect surfaces from daily kitchen use. Now let’s see how paint layers and sealing methods improve strength and keep cabinets looking fresh for a long time.
Strong Layered Finishing System
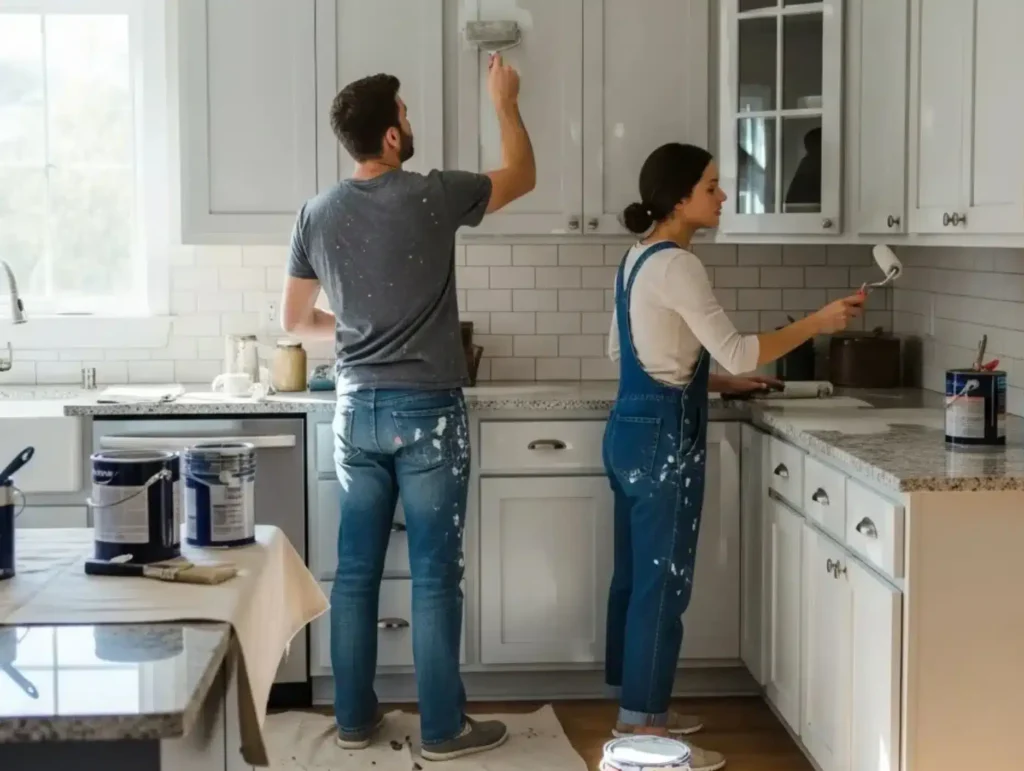
Durable cabinets need multiple layers of paint and primer. Kitchen cabinet refinishing steps include this process to build protection. A real case is a homeowner who used only one coat and saw early wear. Cabinet sanding and painting create a smooth base so each layer bonds properly and lasts longer in daily use.
Moisture And Heat Resistance Protection
Kitchen cabinets face steam and heat every day. Sealers help block moisture and reduce damage. Professional cabinet coating adds a protective layer that keeps color stable and surface strong, even near cooking areas.
Maintenance For a Long-Lasting Finish
Simple care keeps cabinets in good shape. Wiping spills quickly and avoiding harsh cleaners helps protect the coating. Regular cleaning supports long-term durability and keeps cabinets looking new.
Importance Of Proper Sealing
Sealing locks in paint and prevents peeling. Without it cabinets lose strength faster. A good sealing layer improves finish life and supports daily kitchen use with less damage over time.
Time And Budget Considerations For Cabinet Projects
Cabinet projects need proper time planning for smooth results. Kitchen cabinet refinishing steps help set clear work stages from prep to finish. Now let’s see how custom cabinet painting is done, timing and cost factors affect the full cabinet painting process, and what homeowners should expect before starting any kitchen update work.
Project cost depends on labor, materials, and design choices. The cabinet painting processes become more expensive with custom colors and detailed finishes. A real case is a homeowner who chose premium paint and saw higher costs but better results. Wood cabinet preparation also affects the budget since damaged surfaces need extra repair and time before coating begins.
Quality Checks And Final Inspection After Painting Work
The cabinet painting process does not end after the final coat. A proper check is needed to ensure smooth and clean results. Now let’s see how experts review every detail to confirm the cabinets are ready for daily kitchen use without flaws or uneven spots.
Surface Smoothness And Finish Check
After drying, experts inspect each cabinet surface closely. The cabinet sanding and painting quality is checked to confirm there are no rough areas or brush marks. A real case is a homeowner who noticed small, uneven spots during inspection and got them fixed before final approval.
Touch-Up Corrections And Final Fixes
Small errors like tiny color gaps or light marks are corrected. Professional cabinet coating is adjusted where needed to ensure even coverage. This step helps improve the final appearance and makes cabinets look fully complete and polished.
Client Walkthrough And Approval Process
The final step is a walkthrough with the homeowner. They check color, finish, and overall look. Any concerns are fixed before the project closes. This ensures full satisfaction and a professional standard finish in the kitchen space.
Key Takeaways On Cabinet Painting Steps
A clear cabinet painting process helps turn old kitchens into fresh, usable spaces. How custom cabinet painting is done follows simple stages from prep to final coating with Evers Painting. Each step builds strength, color, and a smooth finish for daily use.
Proper kitchen cabinet refinishing steps improve both look and durability over time. A real case is a homeowner who followed each stage carefully and got a long-lasting clean finish. When each step is done right, cabinets stay strong and easy to maintain. This process also saves cost compared to full replacement while improving kitchen comfort and style for everyday living use.
Frequently Asked Questions About Cabinet Painting Work
Most projects take a few days to complete. Kitchen cabinet refinishing steps include prep, drying, and final coating. Time depends on kitchen size and surface condition.
Not always. Some cabinets are painted in place. Wood cabinet preparation decides what must be removed for better access and clean results.
A strong bonding primer works best for kitchens. It helps paint stick and last longer under heat and moisture from daily cooking use.
Yes, laminate cabinets can be painted with proper surface prep. Professional cabinet coating includes special primers for smooth adhesion on non-wood surfaces.
Most cabinets need two to three coats. This helps build color depth and long-term protection for daily kitchen use.