
A small change can make your home stand out fast. Trim plays a key role in how a house looks from the outside. Exterior trim painting advice helps you fix dull edges and bring a fresh feel. It protects wood and adds a neat finish that feels complete. You might notice how clean trim lines make the whole home look more cared for.
Many people rush the trim work and face early peeling or uneven color. That often comes from poor prep or wrong paint choice. This guide shows simple steps that work in real homes. You will learn how to prep, choose paint, and apply it well. In the end, your trim stays clean, strong, and looks fresh longer.
Why Exterior Trim Painting Improves Overall Home Appearance
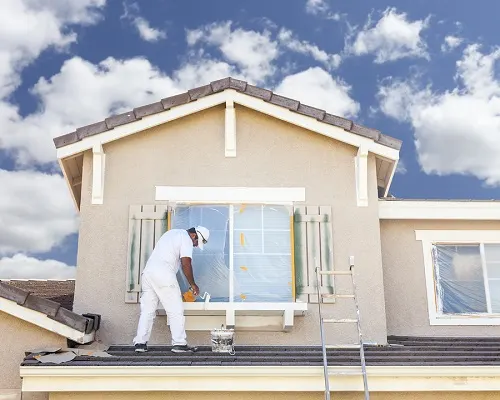
Trim frames, windows, doors, and edges of your home. It helps define the full shape of the structure. Exterior trim painting advice with Elite exterior painting shows how fresh paint can sharpen these lines. Clean trim adds strong contrast against walls. This makes the home look neat and well cared for. Exterior house trim ideas often use simple color changes to improve curb appeal.
Trim also protects edges from sun, rain, and daily wear. Good paint helps block damage and keeps surfaces strong. Trim painting tips focus on both style and protection. Painted trim highlights design details and adds depth to the home. Over time, this care keeps the outside looking clean and finished.
How to Choose the Right Paint for Exterior Trim Surfaces
Different trim types need the right paint to last longer. Wood and composite trim react in different ways. The best paint for exterior trim depends on surface type and weather use. Wood needs a strong cover that can handle sun and rain. Outdoor trim painting techniques help paint stay smooth and hold well over time.
Paint type also affects how long the finish stays fresh. Oil paint gives a strong coat and deep color. Water paint dries fast and feels easy to use. A long-lasting trim paint finish needs fade resistant coating. Satin or semi-gloss works well for trim areas. Good paint helps reduce wear and keeps color bright longer.
How to Prepare Trim Before Painting Properly and Safely
Clean trim helps paint stick well and last longer. Dirt, dust, and old paint can block smooth results. How to prepare trim before painting starts with proper cleaning. You can wipe or wash based on the buildup level, using a master paint sprayer for even and efficient application. Trim painting tips often show that this step builds a strong base for smooth, lasting paint.
After cleaning, check the trim for damage or rough spots. Scrape loose paint and sand uneven areas for a flat surface. Fill gaps and repair cracks before moving ahead. Outdoor trim painting techniques also include primer for better hold. Let the trim dry well before painting so the coat stays firm.
Step-by-Step Exterior Trim Painting Process for Beginners
A clear plan helps you avoid errors and get a clean finish. This step-by-step exterior trim painting advice keeps the work simple. Each step builds a smooth result that lasts longer and looks neat.
Step 1: Inspect the trim condition carefully.
Check trim for cracks, loose paint, and damage. Early inspection helps you plan repairs and avoid problems during painting. This step supports a smooth and clean result.
Step 2: Clean and prepare the surface
Remove dirt, dust, and old paint from trim areas. Clean surfaces help paint stick better and give a neat look. This step improves the final finish quality.
Step 3: Sand and smooth edges properly
Use sandpaper to smooth rough edges and uneven areas. A flat surface helps paint spread evenly. This step reduces patchy spots and improves trim painting tips.
Step 4: Apply primer evenly.
Primer builds a base that helps paint hold strong. It also covers stains and prepares the surface for the best paint for exterior trim use.
Step 5: Choose the correct tools like angled brush
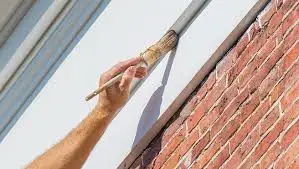
Pick an angled brush for better control on trim lines. Good tools help you paint edges neatly and avoid marks or uneven strokes.
Step 6: Apply the first coat with precision
Apply paint with steady and even strokes. Thin layers help paint dry evenly and reduce marks. Trim painting tips suggest careful and slow work here.
Step 7: Allow proper drying time.
Give enough time for the coat to dry fully. This step helps prevent peeling and keeps the paint layer strong and stable.
Step 8: Apply a second coat for durability.
The second coat adds depth and better protection. It helps paint handle sun, rain, and daily wear. This step improves long-term finish strength.
Step 9 Final inspection and touch-ups
Check trim for missed spots or uneven lines. Fix small flaws to complete the project. A final check gives a clean and polished finish.
How to Select the Best Colors for Exterior Trim Design
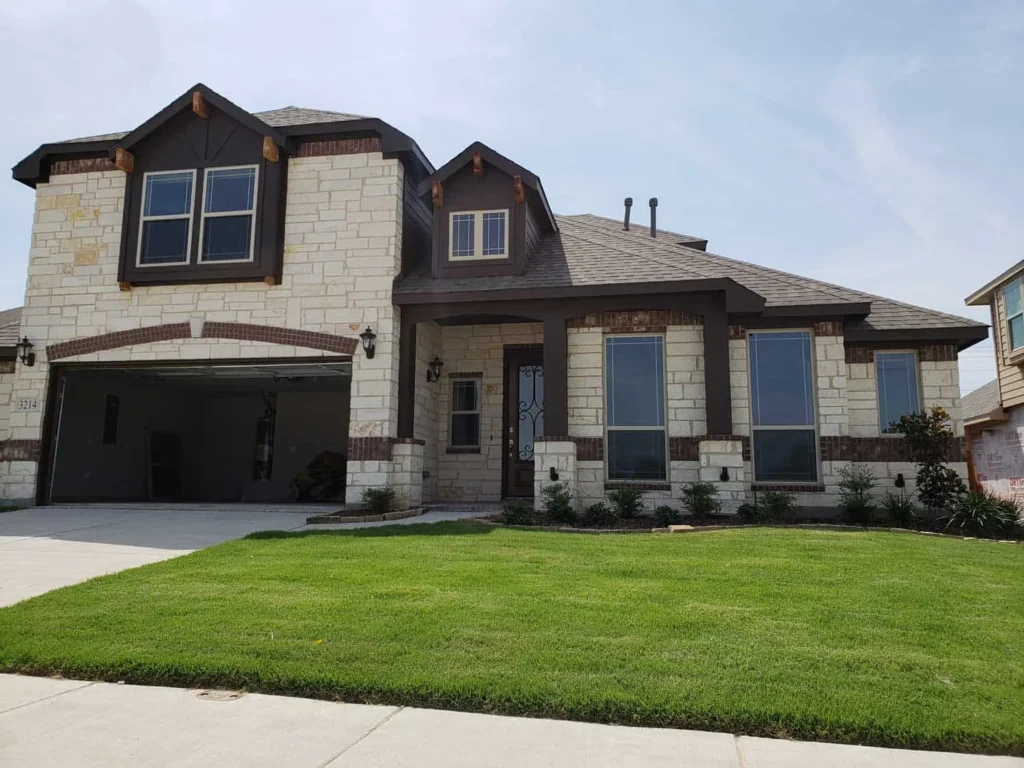
Color choice can change how your home looks from the street. Trim should match siding and nearby tones for a clean style. Tips for choosing exterior trim colors often start with this balance. Light trim can make edges look sharp and bright. Dark trim adds depth and strong contrast. Exterior house trim ideas also include bold colors for a unique look.
Some colors fade faster under strong sun and weather. That is why UV-resistant paint matters for long-term use. Testing small samples helps you see real results before full paint. Trim painting tips suggest trying colors on hidden spots first. This helps you avoid poor choices and keeps the final look clean and lasting.
Common Mistakes to Avoid During Trim Painting Projects
- Skipping surface prep can ruin the final result early.
Dust and loose paint stop proper bonding. Exterior trim painting advice shows prep is key for a long-lasting trim paint finish. - Using low-quality paint leads to weak coverage and fast fading.
Cheap paint cannot handle the weather well. Trim painting tips suggest strong paint for better hold and longer life. - Painting in bad weather can damage the finish.
Too much heat or moisture affects drying. This can cause peeling or uneven paint over time. - Applying thick coats creates drips and rough lines.
Heavy layers do not dry evenly. Thin coats help keep trim smooth and neat. - Ignoring drying time weakens the paint layers.
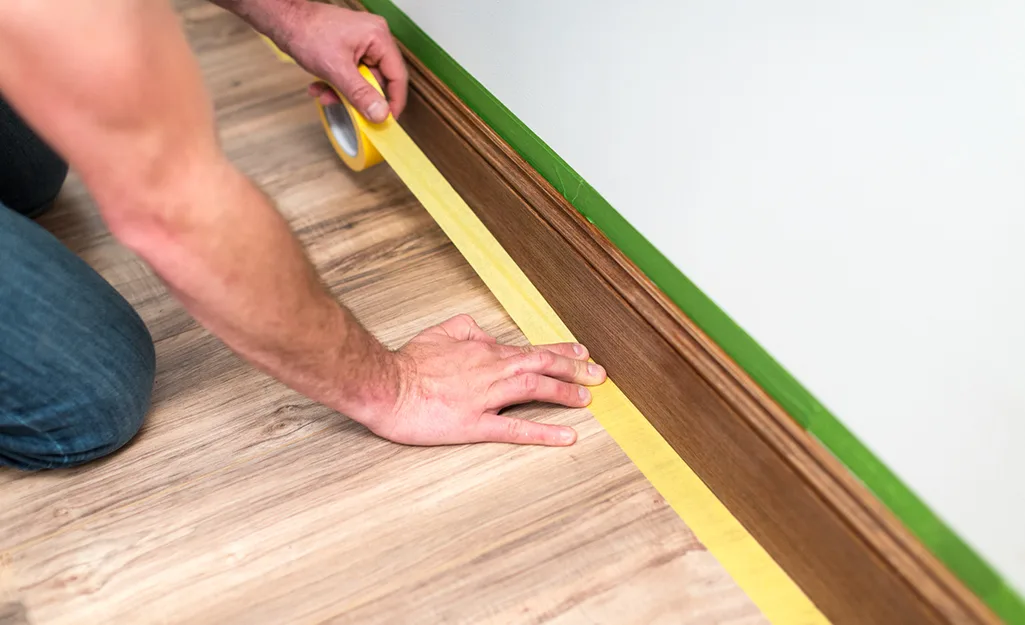
Each coat needs time to set well. Rushing can lead to marks and poor durability. - Not protecting nearby areas causes messy results.
Paint can spread to walls or windows. Cover nearby surfaces to keep the job clean and controlled.
Maintenance Tips to Keep Exterior Trim Looking Fresh Longer
Trim stays fresh when you care for it on a regular basis. Dust and buildup can dull the surface over time. exterior painting service often includes outdoor trim painting techniques that start with simple cleaning. This helps keep edges neat and makes small issues easy to spot early.
A long-lasting trim paint finish needs small checks and quick fixes. Look for peeling or cracks and repair them fast. The best paint for exterior trim still needs care over time. Use sealant to guard against moisture and plan repaint when needed.
When to Consider Professional Exterior Trim Painting Services
Large trim areas can take time and need steady control. Detailed edges also need careful work for clean lines. Exterior trim painting advice often shows the limits of basic tools. Skilled workers handle complex trim with better results. A professional trim painting guide helps manage tricky areas with more precision.
Old or damaged trim may need repair before painting begins. Cracks, gaps, and worn spots can affect the final look. Outdoor trim painting techniques work best after proper fixes. You also save time and avoid risk in tall areas. In many cases, better work gives stronger and longer-lasting results.
Conclusion
Exterior trim plays a key role in how your home looks. Evers Painting provides proper exterior trim painting advice to help protect edges from wear. Good prep and the right paint choice build a strong base. Each step supports a clean and smooth finish. When you follow a clear plan, the trim stays bright and neat.
You might notice how simple care keeps trim looking fresh longer. Quality paint and steady upkeep help reduce early damage. Small checks and touch-ups make a big difference over time. A clear process helps avoid common issues. In the end, your home keeps a clean and polished look for years.
FAQs
Most trim needs repainting every three to five years. Weather and use affect timing. Exterior trim painting advice helps track wear and plan a repaint at the right time
Angled brushes give better control on edges and corners. Small rollers help flat trim areas. The best paint for exterior trim works well with proper tools.
Sanding is not always required, but it improves results. Smooth trim helps paint stick better. Skipping sanding can lead to an uneven finish and weak exterior trim painting results.
Satin or semi-gloss finishes work best for trim areas. They resist dirt and wear better. A long-lasting trim paint finish depends on the right finish choice.
Trim paint can last three to seven years with good care. Using the best paint for exterior trim helps achieve a long-lasting trim paint finish.